NRFU Testing
We also provide specific NRFU functionality which allows users to run NRFU tests against their network by using Vane. This functionality can be utilized by connecting Vane to the network in 3 different ways as follows:
-
Running Vane locally
- Connecting to devices locally (via a device ip text file)
- Connecting to devices via a CVP instance (by providing the CVP ip)
-
Running Vane as a CVP Application
- Connecting to devices by running Vane as a CVP container
NRFU Test cases supported in Vane
Note
The list of supported NRFU test cases can be found here
I. Running Vane locally
Executing the below command will prompt for EOS device/CVP credentials (which should be the same)
After entering those, you will be prompted as follows:
a. Local Execution without CVP
If you answer No, it will prompt you as follows:
Once you enter the path to a file with device ip’s, it will prompt you for a test directory as follows:
If you answer n/no, it will default to the nrfu_tests folder in vane, if yes it will further prompt you as follows:
Success
Following which Vane will start executing the nrfu test cases on the devices whose ip’s were provided in the device file.
b. Local Execution with CVP
If you answer Yes, it will prompt you as follows:
Given you authenticate in successfully after providing the address, it will prompt you for the test directory as earlier.
Success
After which Vane will start executing the test cases on your devices managed through CVP.
II. Running Vane as a CVP Application
Note
If you have the initialized vane-cvp setup, then skip to the second part of Step 7, if not then follow from Step 1
Step 1: Download the vane-cvp-rpm from the vane repo
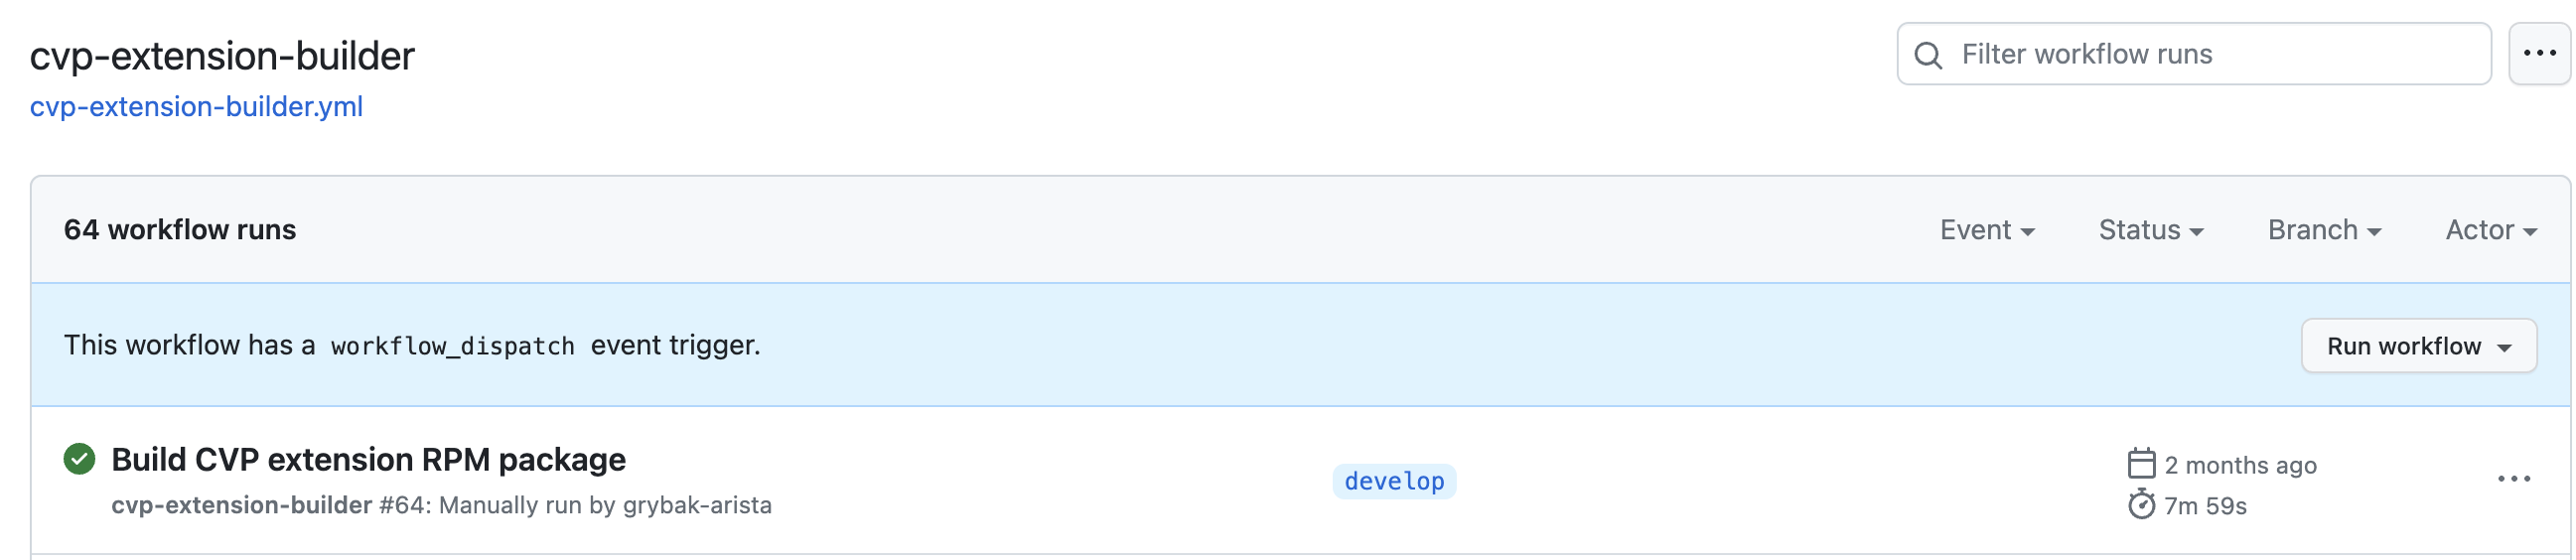
To download the vane-cvp-rpm, select the most recent successful build, which would be the one at the top with a green checkmark, over here.
Reference
Then download the rpm from the artifacts section
Note
You need to be signed into your github account to be able to download this
The package is downloaded as a zip archive.
Step 2: scp the zipped rpm file from your local device to your cvp instance
The file should be copied into the root directory on the cvp instance.
Example
scp /Users/rewati/Downloads/vane-cvp-1.1.0rc2-rpm.zip root@10.255.67.157:/root
Step 3: Ssh into cvp instance
Log into the cvp instance as the root user.
Step 4: Unzip and untar the copied package in the root user's home directory
Tip
Use tab completion after typing the unzip command, then use a wildcard on the filename for the tar command to avoid having to type out or copy the filename correctly, since the .tgz file is slightly different than the zip file name.
The command and its output will look as follow:
[root@<cvp_ip> ~]# unzip vane-cvp-1.1.0rc2-rpm.zip && tar xzvf vane-cvp*.tgz
Archive:  vane-cvp-1.1.0rc2-rpm.zip
inflating: vane-cvp-1.1.0rc2.tgz
vane-cvp-1.1.0rc2/
vane-cvp-1.1.0rc2/vane-cvp-install.sh
vane-cvp-1.1.0rc2/vane-cvp-uninstall.sh
vane-cvp-1.1.0rc2/vane-cvp-start.sh
vane-cvp-1.1.0rc2/vane-cvp-1.1.0rc2-1.noarch.rpm
Step 5: Change to the newly created directory
Inside the directory, there will be the vane-cvp rpm package and 3 executable shell scripts.
[root@<cvp_ip> ~]# cd vane-cvp-1.1.0rc2
[root@<cvp_ip> vane-cvp-1.1.0rc2]# ls -1
vane-cvp-1.1.0rc2-1.noarch.rpm
vane-cvp-install.sh
vane-cvp-start.sh
vane-cvp-uninstall.sh
Step 6a: Run the vane-cvp-install.sh script to install vane and start the container
This installs the RPM, enables the extension in CVP, starts the extension and checks the status of the extension, then disables the extension.
Note
Disabling the extension does not stop the extension from running. It is still active and can be used. Disabling the extension prevents the extension from starting automatically the next time CVP is stopped and restarted, e.g. after a reboot or a manual stop and restart of CVP. This is to help prevent the Vane extension from loading after a reboot, which should help prevent issues during a CVP upgrade.
Note
Although the extension is disabled and this should help during a CVP upgrade process, the suggested process is to always uninstall the Vane CVP extension see step 6c before proceeding with the CVP upgrade.
[root@<cvp_ip> vane-cvp-1.1.0rc2]# ./vane-cvp-install.sh

--------------------------------------------------------------

Install the rpm
  ....

<lots of output removed>

  ....


Action Output
-------------
COMPONENT     ACTION        NODE      STATUS      ERROR
vane-cvp      disable      primary   (E) DONE       -

--------------------------------------------------------------


-- Vane CVP extension installed --
Step 6b: Restarting the Vane extension after a CVP shutdown (optional)
If the CVP instance is stopped for any reason (reboot, manually stopped by cvpi commands, etc), the Vane extension will not be restarted when CVP is restarted. To restart the Vane extension after CVP is running again, cd into the same directory where the rpm package and the 3 shell scripts are located and run the vane-cvp-start.sh script. This script is nearly identical to the vane-cvp-install.sh script with the exception of not performing the rpm installation. It enables and starts the extension, then verifies the status of the extension, and finally disables (without stopping) the extension, as before.
Warning
This step assumes that the extension has been previously installed by Step 6a successfully, and this is only to restart the extension.
Step 6c: Uninstalling the Vane extension (optional)
Uninstalling the Vane CVP extension is highly recommended before performing an upgrade to either the extension itself or to CVP.
To uninstall the extension, cd into the same directory where the rpm package and the 3 shell scripts are located and run the vane-cvp-uninstall.sh script. This script will stop and disable the extension if it is running, remove any containers associated with the extension, and uninstall the extension from the CVP subsystem.
Note
The /cvpi/apps/vane-cvp/vane-data directory that is associated with the container is not removed, so any data that you may have stored in the shared location is still preserved.
Step 7: Get a command shell in the vane-cvp extension container
To run Vane, we need to be in the container that is running the vane-cvp extension. To enter the vane-cvp container, exec into the container using kubectl.
Tip
To get the vane-cvp-container-id start typing ‘vane’ and hit tab to trigger the tab-completion which should fill in the name of the vane-cvp container. The container id should be something like vane-cvp-667699998-m42gh.
If returning to a previously initialized vane-cvp setup, you will need to first log into the CVP host, before exec’ing into the vane-cvp container.
Warning
If the tab completion doesn't work, an alternative form of the kubectl exec command can be run as
where the commands in the backticks will dynamically get the container id.Step 8: Activate Vane shell
After the above command, if everything is successful you will be greeted with a prompt as follows, after which if you type activate, you will enter the vane virtual environment

Step 9: Executing Vane
Now you are good to run Vane on the Nrfu tests
Executing the above command will prompt for EOS device/CVP credentials (which should be the same)
After entering those, it will identify that you are running Vane as a CVP application and show the following prompt
Given CVP authentication is successful, it will prompt you the following:
If you answer n/no, it will default to the nrfu_tests folder in vane, if yes it will further prompt you
Tip
Look into this section to learn how you can import your own customized, nrfu/non-nrfu, test cases in this working environment
Success
After which Vane will start executing the test cases on your devices managed through CVP