Via Docker
Vane can be installed by creating and running a docker container. The DockerFile has been provided in the cloned repo
The following steps should get you started
Clone the Vane Repository
Enter the Project Root Folder and Build the docker container
This step will ensure it downloads all the dependencies needed to run Vane in the isolated docker environment, for example it will install poetry and create a virtual environment with the required dependencies.
Warning
Ensure your docker daemon is running before building the container otherwise the make container command will error out.
Run the Container
After this command you will see the following screen

Activate the virtual environment
Warning
Make sure you hit activate before trying the Vane commands since you need to enter the Vane poetry virtual environment with the installed dependencies before Vane commands can be recognized.
Note
The Vane project repo is mounted in the docker container as /project directory. In order to modify source code or refer to any files which exist within the vane repo use the mounted "project" folder instead. For eg, the sample_network_tests folder which exists at vane/sample_network_tests in the repo can now be found at /project/sample_network_tests. Changes to this folder are saved across containers
Warning
In case by default you do not get dropped in the /project dir, then explicitly enter the project folder by executing the following command. This is important because the pytest.ini file exists in the /project folder and Vane needs that file in the root folder to execute test cases.
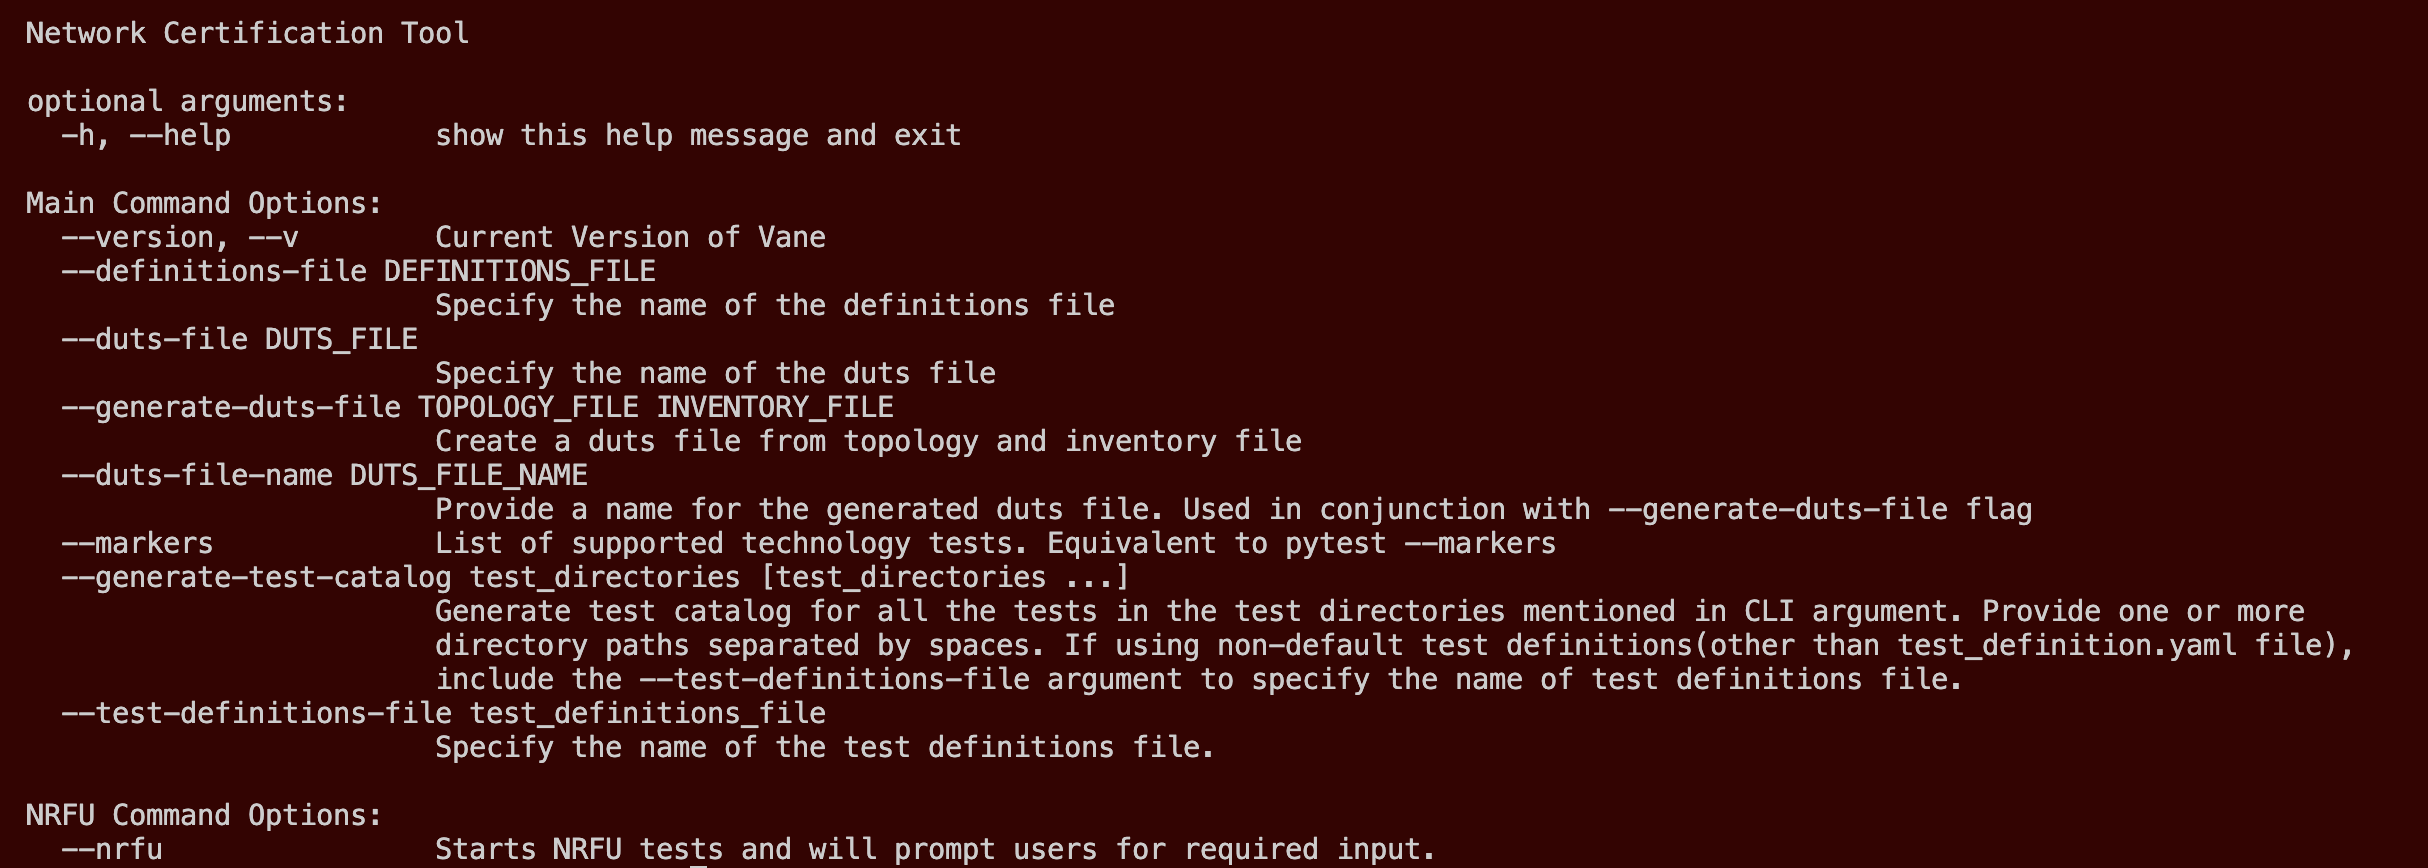
Vane is now ready to be executed and the prompt will look as follows:
To exit out of the container execute the following command:
Success
Now that you are all set up, navigate to the Executing Vane Section to learn about how to use Vane and its different commands to execute test cases on your network.